

Place a commercial oven where utilities, ventilation and staff flow converge, with clearances and service access designed in from day one, not squeezed in afterwards. Get this wrong and you end up with a £15,000 combi oven fed by a lead that can’t reach the socket, or a door that hits the plating table every time it opens.
The core rule is simple: prioritise proximity to electrical, gas and water connections and extraction ductwork, while keeping the door swing and a clear working strip in front of the unit completely unobstructed. Everything else in your kitchen layout should bend around that, not the other way round.
Before you brief an installer or sign off a layout drawing, check off the basics:
- Utilities (power, gas, water, drain) positioned within roughly 6ft of the final oven position, confirmed against the manufacturer installation checklist
- A minimum of 22 inches of front clearance for door swing and safe staff movement
- At least 12 inches separation from other major heat sources, unless a heat shield is fitted
Ranges you’ll likely be specifying against include the Rational i Combi Pro, the Unox XF023-GB, and Blue Seal’s E22 or E28 convection series, all of which suit UK kitchens at very different scales. The commercial oven store supplies and advises on all three, and the placement principles below apply whichever you choose.
Pro Tip: Get your electrician and gas engineer to sign off the utility positions on the floor plan before the oven arrives, not after. Moving a gas inlet three feet costs a lot more than moving a mark on a drawing.
Key Takeaways
Correct commercial oven placement depends on aligning utility connections, extraction capacity, and door clearance before the unit ever arrives on site.
| Point | Details |
|---|---|
| Utilities within reach | Keep electrical, gas and water connections within roughly 6ft of the final oven position. |
| Respect door clearance | Leave a minimum of 22 inches in front of the oven for door swing and safe staff movement. |
| Plan service access | Reserve rear and side space for filter access, descaling and engineer visits, not just daily operation. |
| Match capacity to demand | Size GN tray count to your busiest 30 minutes of service, with spare capacity for cleaning rotation. |
| Verify before you buy | Thecommercialovenstore lists manufacturer cutout dimensions and offers installation kits and iwocaPay financing to get the right model sited correctly first time. |
Table of Contents
- Which type of commercial oven suits your kitchen layout?
- How do you size an oven to match your covers per hour?
- What clearances and ergonomics does the installer need?
- Where should electrical, gas and water connections sit?
- When does a commercial oven need an extraction hood?
- What should your commercial oven installation checklist include?
- How does oven placement affect kitchen workflow?
- What service access and running costs should you plan for?
- Which oven and placement suit your kitchen type?
- What I’d tell you if you only had one placement decision to get right
- How can Thecommercialovenstore help with your installation?
- Where to check manufacturer specifications before you finalise a layout
- Frequently asked questions about commercial oven placement
- Sources
Which type of commercial oven suits your kitchen layout?
The oven category you choose drives almost every placement decision that follows, from floor loading to hood size. Get the category wrong and no amount of clever positioning fixes it.
Combi ovens cook with steam and dry heat combined, which makes them the most versatile option for a menu that spans proteins, bakery and reheating. They need a cold water supply, a graded drain, and typically a dedicated extraction point for steam capture. The manufacturer’s own installation guidance distinguishes between standard and flush installs, each with different recess dimensions, so this is not a unit you place first and plumb in later.
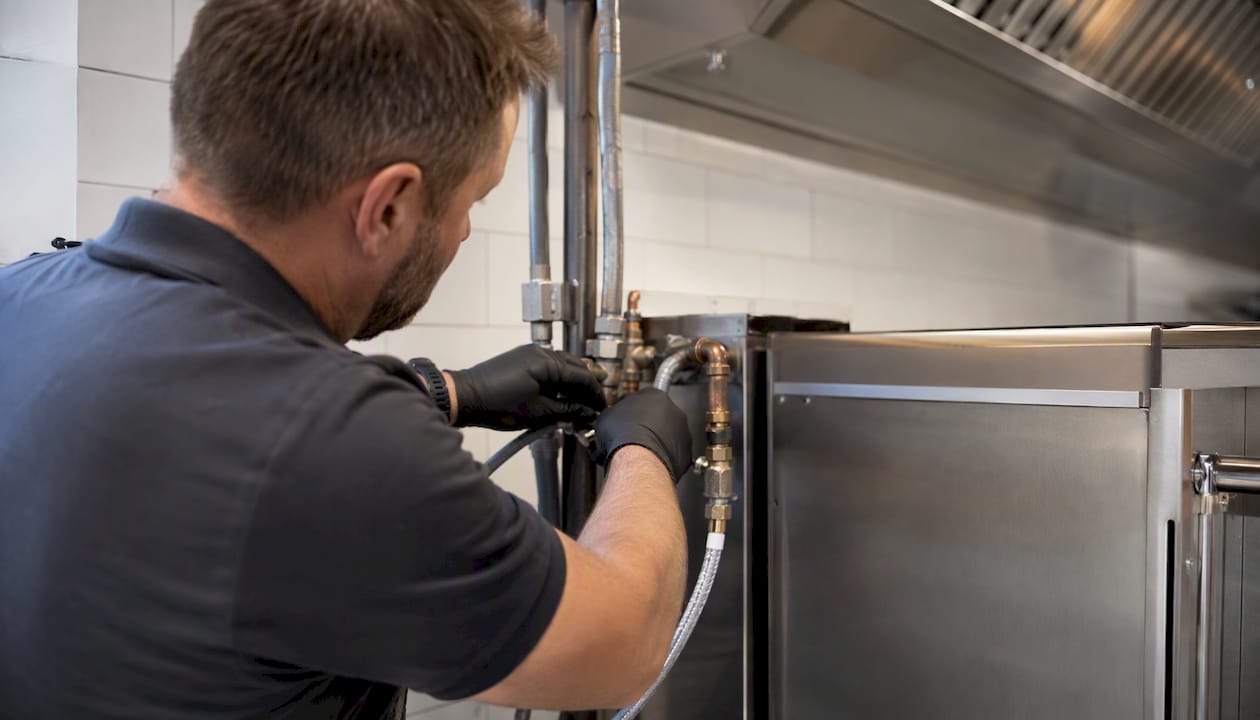
Convection ovens move hot air around the cavity with a fan, and they’re the workhorse choice for bakeries and high-volume roasting. They’re generally simpler to site than combi units, since most don’t need a water or drain connection, but they still draw serious power and generate heat that needs proper extraction.
Deck and pizza ovens sit low, run hot and constant, and often need solid-fuel or gas venting considered separately from general kitchen extraction. Their weight and heat output usually rule out anything but a purpose-built base.
Speed ovens (combination microwave and convection or impinger units) are compact enough to sit on a countertop near the pass, and they’re built for grab-and-go throughput rather than batch cooking.
Placement implications by type:
- Combi ovens: need water, drain and dedicated steam extraction; heavier duty cycle means checking floor/support load capacity
- Convection ovens: usually electric or gas only, no water; still need clearance from combustible surfaces
- Deck/pizza ovens: high standing heat load, often require independent flue routing
- Speed ovens: lightest footprint, often countertop mounted, minimal utility demands beyond a standard socket
Pro Tip: If your menu genuinely needs steam cooking only occasionally, weigh a combi oven’s plumbing demands against a convection oven plus a smaller speed oven for finishing. Two simpler installs are sometimes easier to site than one complex one.
How do you size an oven to match your covers per hour?
Sizing starts with your peak service throughput, not the biggest oven that fits the wall. Work backwards from covers per hour to tray count, then to footprint.
Gastronorm sizing is the language commercial kitchens use to talk about capacity. A GN 1/1 tray measures 530mm by 325mm and is the standard reference size; a GN 2/1 is effectively double that footprint, giving you more batch capacity per load but demanding a proportionally larger oven cavity. Most combi and convection ovens are specified by how many GN 1/1 trays they hold, commonly in configurations of 6, 10 or 20.
As a rough planning guide, a 6 tray GN 1/1 combi oven suits a café or small bistro doing under 100 covers at peak service. A 10 tray unit, like the Rational i Combi Pro 10 GN1/1, handles busier independent restaurants and mid-size catering operations. A 20 tray unit, or two stacked 10 tray ovens, is typically what high-volume production kitchens and central production units need.
Rules of thumb worth following:
- Match GN capacity to your busiest 30 minutes of service, not your daily average
- Build in spare capacity for cleaning cycles and rotation, since one oven mid-clean during peak service is a bottleneck
- Consider stacking two smaller ovens rather than one giant one if your kitchen has a low ceiling or narrow service run
A gastronorm sizing guide is worth keeping to hand when you’re comparing tray counts across brands, since manufacturers don’t always use identical internal spacing.
What clearances and ergonomics does the installer need?
Clearance figures aren’t a suggestion, they’re what stops a door hitting a wall or a colleague getting burnt reaching past a hot cavity. Build them into the layout drawing, not just the final walkthrough.
The most-cited figure across manufacturer documentation is 22 inches (roughly 560mm) of front clearance, which allows the door to open fully and gives staff room to load and unload trays safely. Manufacturer planning guidance consistently treats this as a practical minimum, and in high-traffic pass-through kitchens, planning for somewhat more clearance avoids constant near-misses during service.
Lateral and rear clearances matter too, though they’re less dramatic. Leave at least 12 inches between the oven and other major heat sources such as fryers or open grills, unless the installation includes a rated heat shield. Rear clearance depends heavily on the model’s own service access requirements, covered in the next section.
Mounting and support options split into three categories: freestanding on a stand, built into a run of cabinetry, or wall-mounted for smaller combi and speed ovens. Manufacturer cutout guidance for wall and undercounter installs is explicit that floor or support surfaces must bear the oven’s full weight, and cabinet materials around a built-in unit need to tolerate the oven’s operating surface temperature, not just ambient kitchen heat.
| Installation type | Typical clearance need | Key consideration |
|---|---|---|
| Freestanding on stand | Full 22in front clearance | Easiest to relocate; check stand load rating |
| Built-in / cabinetry | 22in front, verified cutout dimensions | Cabinet material must tolerate oven temperatures |
| Wall-mounted | 22in front, junction box near support surface | Wall must bear full loaded weight |
Ergonomic height is where a lot of kitchens get it wrong. Undercounter combi ovens sitting directly on the floor force staff into repeated deep bends during service, which is a genuine repetitive strain risk over a long shift. Raising the unit on a stand, such as Rational’s open stand for GN1/1 ovens, or a base cabinet, brings the working height up to somewhere between waist and chest level for most staff, which speeds up loading and cuts strain.
Pro Tip: Stand the tallest member of your kitchen team in front of the proposed oven position before installation and have them mime loading a full tray. If they’re stooping or stretching, adjust the mounting height, not the staff.
Where should electrical, gas and water connections sit?
The 6ft rule is the single most useful number in this whole guide: keep every utility connection, electrical, gas and water, within roughly 6ft (1.8m) of the oven’s final resting spot. This isn’t an arbitrary figure. It reflects practical cable lengths, workable drainage gradients, and how far an inlet hose can realistically reach without creating a trip hazard or a strain point.
Electrical planning depends on the oven category and size. Smaller countertop units often run happily on a single-phase 13amp supply, but larger combi and convection ovens frequently need three-phase power, and getting this wrong is one of the most expensive site-readiness mistakes a planner can make. Our guide to single-phase versus three-phase supply breaks down how to work out which your chosen model needs before you order anything.
Manufacturer technical notes are consistent on the electrical basics: the installation must use a grounded permanent wiring system, with breaker and cable sizing matched to both startup and running amperage, and everything installed to the applicable electrical codes. For a UK installation, that means bringing in a qualified electrician who understands BS 7671 wiring regulations for commercial catering environments, not a generalist.
Junction box placement is more specific than most planners expect. Manufacturer spec sheets for wall and undercounter installs call for the junction box to sit close to the oven’s support surface, with some models specifying no more than 3 inches (roughly 76mm) below it. Get this wrong and you either can’t reach the connection once the oven is in place, or you’ve left an ugly length of exposed cable.
Combi ovens add a water and drainage dimension that convection ovens don’t need:
- Most combi ovens require a cold water supply only, though check the specific model’s spec sheet, since some call for a tempering kit if incoming water temperature runs high
- Drain gradient should sit at around 5% (roughly 1/4 inch per foot) for reliable, self-clearing drainage
- Keep drain runs reasonably short, ideally no longer than about 10 feet, and secure the drain line to the floor rather than leaving it loose underfoot
Pro Tip: Ask your gas or water contractor to mark the exact final connection points on the floor with tape before the oven delivery date. It sounds basic, but it’s the single fastest way to catch a mismatch between the drawing and reality.
When does a commercial oven need an extraction hood?
High-duty ovens and anything producing steam, which means every combi oven, need a properly sized extraction hood. The trigger isn’t really the fuel type, it’s the volume of heat and moisture the unit puts into the room during a busy service.
Hood positioning matters as much as hood size. Manufacturer guidance is explicit that the hood must extend over the oven’s vent and overhang sufficiently at the front to catch the plume of steam that escapes the moment a combi oven door opens. A hood that only covers the back half of the unit is effectively venting half the steam straight into the kitchen ceiling.
Centring your highest-duty equipment directly beneath the hood improves capture efficiency and can reduce the exhaust rate you need to hit the same result, which matters both for energy costs and for how loud your extraction system needs to run during service. This is a planning consideration worth raising with your ventilation contractor early, since moving a hood once it’s ducted is a far bigger job than moving an oven.
Fire safety checks that belong on every commercial oven installation:
- Confirm clearance to combustible surfaces meets the manufacturer’s stated minimum, not just what looks roughly right
- Leave access clear for fire suppression system nozzles and manual pull stations, don’t let equipment placement block them
- Check whether fire dampers or automatic extinguishing systems need integrating into the hood ductwork itself, which is a building control and insurance question as much as a kitchen design one
Pro Tip: If you’re retrofitting an oven into an existing hood run rather than designing the hood from scratch, get your ventilation contractor to check the existing exhaust rate against the new oven’s steam output before installation day, not during commissioning.
What should your commercial oven installation checklist include?
An installer working from a clear, ordered checklist gets your oven commissioned in hours rather than days. Here’s the sequence worth handing over.
Site checks, before delivery:
- Confirm doorway, corridor and lift dimensions along the full delivery route, not just the final kitchen doorway
- Check floor level and load capacity at the installation point
- Confirm the stand, base cabinet or recess is built and ready to receive the unit
Utilities verified and labelled:
- Electrical outlet or junction box position confirmed against the model’s spec sheet, with breaker size checked
- Gas inlet pressure tested and confirmed against manufacturer requirements, where applicable
- Water inlet and drain positioned within the 6ft guideline, drain gradient confirmed at roughly 5%, termination point clear and accessible
Final checks before commissioning:
- Extraction hood capture verified with the door open and a test steam cycle running
- All clearances measured and confirmed, front, sides and rear
- Manufacturer cutout dimensions matched exactly against the physical recess or stand
- Firmware, water hardness settings and initial setup notes completed per the manufacturer’s commissioning guide
One practical delivery tip worth knowing before moving day: many combi ovens can have their doors and legs removed to get through narrower doorways, and manufacturer guidance covers this explicitly rather than leaving it to guesswork on the day.
Pro Tip: Print the checklist and get your installer to sign off each section on-site, rather than relying on a verbal “yes, all good.” It’s the difference between a five-minute fix and a call-back visit two weeks later.
How does oven placement affect kitchen workflow?
An oven in the technically correct spot for its utilities can still wreck your service flow if it’s fighting the movement patterns of your team. Placement decisions need to satisfy both the installer’s checklist and the head chef’s sense of how a pass actually works under pressure.
Adjacency is the first lever. Position ovens close to plating and finishing stations, and near hot-hold equipment, so a finished dish travels the shortest possible distance from oven to pass. At the same time, keep meaningful separation, or a heat shield, between ovens and fryers or open grills, both for the 12 inch minimum clearance and because two intense heat sources side by side make that stretch of the line miserable to work in during a Friday night rush.
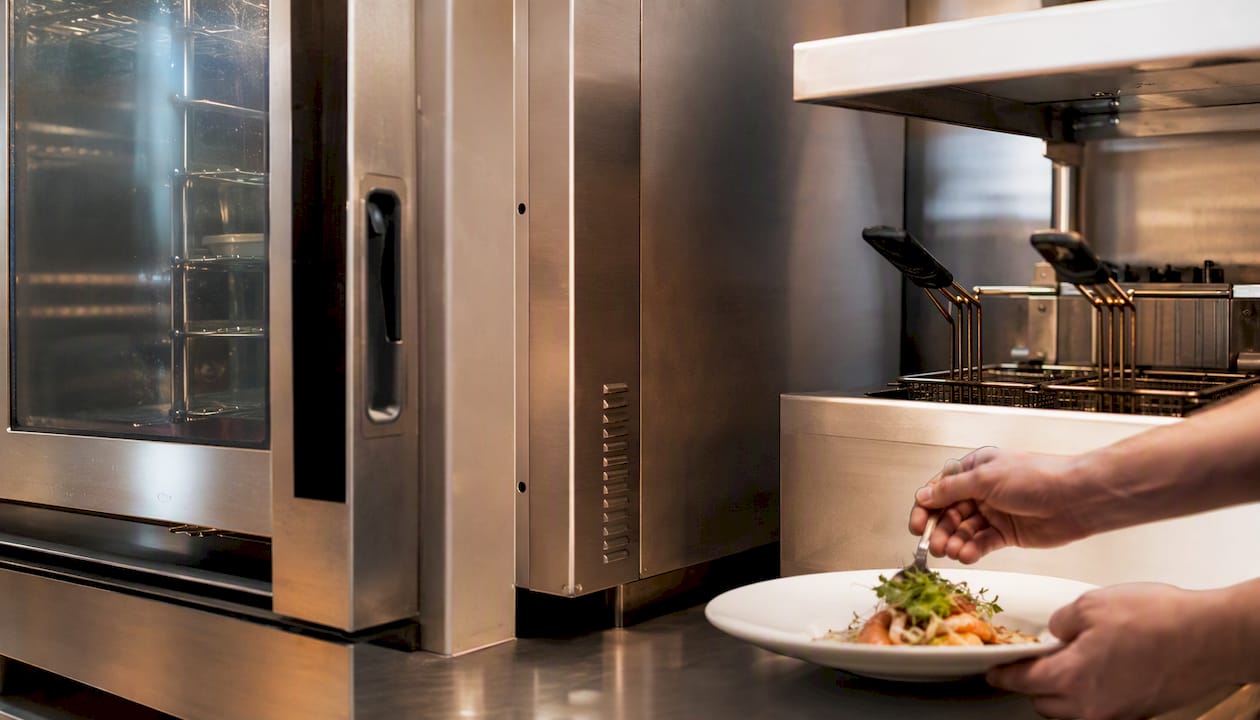
Door swing direction genuinely matters and gets overlooked constantly. A combi oven with a left-hinged door installed on the left-hand wall of a narrow galley kitchen will open straight into the walkway every single service. Check which way your chosen model hinges before you commit to a wall position, not after.
Good and poor placement, by kitchen type:
- Bakery: Good placement puts a deck or convection oven near the proofing area and packing bench, minimising the distance dough travels once baked. Poor placement puts it at the far end of the kitchen from the mixer and bench, forcing staff to carry hot trays past prep stations all day.
- Small bistro: Good placement puts a compact combi oven within arm’s reach of the pass, letting one chef run both oven and plating. Poor placement tucks it into a back corner, meaning every dish needs a second person to fetch and carry.
- High-volume restaurant: Good placement splits duty across two mid-size ovens either side of the pass to avoid a single bottleneck during peak covers. Poor placement relies on one large oven that becomes the entire kitchen’s rate-limiting step the moment it’s mid-clean or mid-batch.
Genuinely good kitchen layout planning treats workflow efficiency as a design input from the very start, not a fix applied after equipment has already landed on-site. The same logic behind planning circulation in high-traffic spaces applies directly to a working kitchen line, where every wasted step during service costs time you don’t have.
What service access and running costs should you plan for?
Servicing access gets forgotten more often than any other placement factor, mostly because it doesn’t matter until the day an engineer actually needs to get behind the unit. Leave enough rear and side clearance for filter access, panel removal and hose connections, not just the minimum the manufacturer states for basic operation.
Maintenance access checklist:
- Water filter access for combi ovens needs to be reachable without pulling the whole unit forward
- Descaling and water softener systems need periodic attention, so budget clear floor space for a technician to work, not just stand
- Confirm expected service intervals with your supplier at purchase, and check what warranty terms require in terms of professional servicing frequency
Running costs come down to three placement-adjacent factors: fuel type, insulation quality, and duty cycle. Gas ovens generally cost less to run per unit of output than electric in the UK, though electric units are simpler to site since they skip the gas safety certification step. Better-insulated cavities hold heat more efficiently, cutting recovery time between batches and reducing overall energy draw across a shift.
This is a planning-stage comparison rather than a spec sheet substitute; always confirm exact power and capacity figures against the specific model you’re buying.
Which oven and placement suit your kitchen type?
Real placement decisions look different depending on what you’re actually running. Three common scenarios, and the reasoning behind each one.
Bakery example: A high-throughput bakery producing pastries and bread in volume typically needs a convection oven with strong tray capacity positioned near the proofing bench and packing area. The Bakerlux XB893, a 10-tray manual control deck oven, suits this brief well, since it holds serious batch capacity without demanding the water and drain connections a combi oven would need. Utilities here are typically just electrical, kept within the 6ft rule of the final position, with clearance checked against nearby proofing cabinets.
Café example: A busy café doing all-day brunch and quick lunch service usually does better with a compact combi or speed oven near the pass, prioritising fast recovery between orders over sheer batch size. A countertop unit like the CIBO/S speed oven fits tight counter space and runs on a standard single-phase supply, which keeps the electrical install simple.
Small restaurant example: An independent restaurant running a varied evening menu generally needs the flexibility of a proper combi oven, something in the 6 to 10 tray range. The Rational i Combi Pro 6 GN1/1 or the Unox Rosella convection range both suit this scale, positioned near the pass with a dedicated water, drain and extraction connection built in from the start.
How Thecommercialovenstore supports getting from decision to working installation:
- Product pages carry full manufacturer spec sheets so you can check cutout dimensions and power requirements before ordering
- Installation kits and accessories, including base cabinets and open stands, are sold alongside the ovens they’re built for
- Flexible payment options through iwocaPay let kitchens spread the cost of a major equipment purchase rather than funding it in one lump sum
Pro Tip: When comparing two ovens of similar capacity, check the installation type each requires (standard versus flush) before deciding, since one might fit your existing recess and the other might mean rebuilding a section of cabinetry.
What I’d tell you if you only had one placement decision to get right
If you take one thing from everything above, make it this: prioritise service access and extraction over squeezing in a marginally bigger oven. I’ve seen kitchens choose the larger model because the throughput numbers looked better on paper, only to discover six months later that nobody can get behind it to change a water filter without shutting down half the line for an afternoon. A slightly smaller oven with generous rear clearance beats a slightly larger one that a technician can’t reach.
Staging matters more than most planners give it credit for. Book your installer and your electrician or gas engineer for the same window, not sequential visits days apart, because half-finished utility work sitting exposed in an active kitchen is both a hazard and a magnet for delay. If your floor isn’t level, or drainage needs a proper gradient, a raised plinth or base cabinet solves two problems at once: it gets the working height to somewhere sensible for your team, and it gives the drain line the fall it needs without digging into the floor slab.
My favourite practical fix, and one that costs almost nothing relative to the oven itself, is a lightweight stand with a removable kickplate. It raises the unit to a comfortable working height, keeps the underside genuinely accessible for a service visit, and doesn’t demand permanent structural changes if you ever need to reposition the kitchen layout down the line. Ovens get moved more often than kitchen designers plan for. Build in that flexibility from day one.
How can Thecommercialovenstore help with your installation?
Thecommercialovenstore is the difference between guessing at clearances from a spec sheet PDF and getting the right model matched to your actual site, before you’ve spent a penny on the wrong unit. We carry the full range across Rational, Unox and Merrychef, alongside the stands, base cabinets and installation kits that make placement straightforward rather than a series of on-site improvisations.
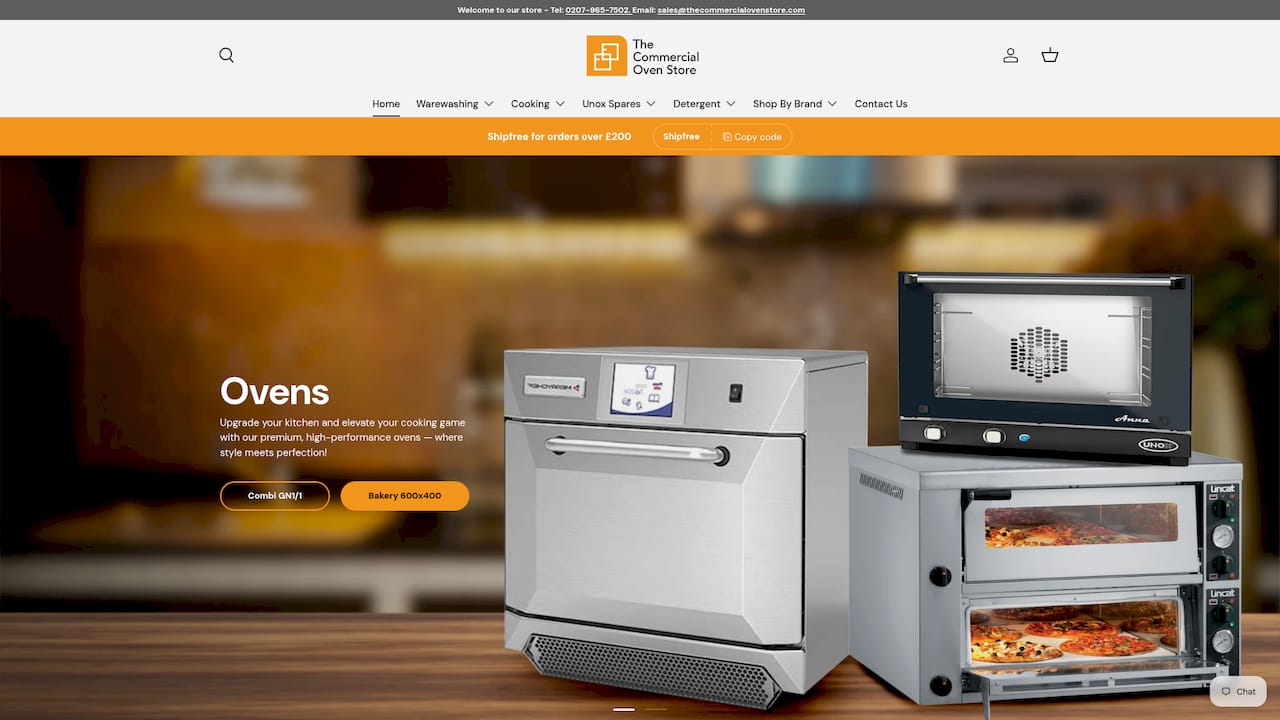
Every product page on our site lists the manufacturer’s cutout dimensions and power requirements up front, so you can check compatibility with your kitchen before committing. If your kitchen needs a combi oven specifically, our combi oven installation site-readiness guide walks through exactly what your electrician, plumber and ventilation contractor each need to confirm before delivery day. And because a serious oven purchase is rarely a small line item, iwocaPay lets you spread payment across manageable instalments rather than funding the whole thing in one go.
Browse the current range, including the Rational i Combi Pro 10 GN1/1 and the Unox XF023-GB convection oven, at Thecommercialovenstore, or get in touch with our team for a site readiness check before you order.
Where to check manufacturer specifications before you finalise a layout
The figures in this guide draw on manufacturer installation documentation, and it’s worth checking the specific model’s own spec sheet before finalising any layout, since dimensions vary between models and between standard and flush installation types.
- The CPG combi oven installation checklist covers clearance tables, the 6ft utilities rule, drain gradient and hood overhang guidance
- The combi oven planning check process sets out standard versus flush install types and the 22 inch door clearance rule
- The combi wall oven installation details specify junction box placement close to the support surface
- The 30 inch combi wall oven spec sheet details cutout dimensions and floor load requirements for recessed installs
Drain gradient, clearance to combustible surfaces, and electrical junction box placement are manufacturer-specified figures and should always be checked against the exact model you’re installing. Adjacency planning, staff flow, and ergonomic mounting height are best-practice guidance built from how working kitchens actually operate, and can flex to suit your specific site.
Frequently asked questions about commercial oven placement
Does a commercial oven need to sit directly under an extraction hood? High-duty ovens and any combi oven producing steam need to sit centrally beneath a properly sized hood, with the hood overhanging the front of the unit to capture steam released when the door opens.
Can I install a commercial oven without three-phase power? Smaller countertop and compact ovens often run on single-phase supply, but larger combi and convection units usually require three-phase power. Check the specific model’s electrical requirements before planning your supply.
How much space do I need to leave for servicing a combi oven? Beyond the 22 inch front clearance for door swing, leave enough rear and side access to reach water filters, descaling systems and service panels without needing to pull the unit forward.
What is the maximum drain run for a combi oven?
Do I need planning permission to install a new commercial oven? Oven placement itself rarely needs planning permission, but changes to extraction ductwork, gas supply or building fabric may require building control sign-off. Check with your local authority and a qualified installer before major works begin.
Sources
- Combi oven planning check process (manufacturer slide deck)
- Combi wall oven installation details (manufacturer spec sheet)
- 30‑inch combi wall oven spec sheet (installation and cutout dimensions)
Recommended
- Combi oven installation: the UK site-readiness guide – thecommercialovenstore.com
- Convection oven for bakery: the UK buyer’s guide – thecommercialovenstore.com
- Best bakery ovens for small UK bakeries: how to choose – thecommercialovenstore.com
- Single phase vs three phase for commercial ovens – thecommercialovenstore.com